
Embarking on anatomical study? A dedicated home lab, visually documented, enhances learning through hands-on exploration and personalized resource organization—a photographic journey!
What is a Home Lab for Anatomy?
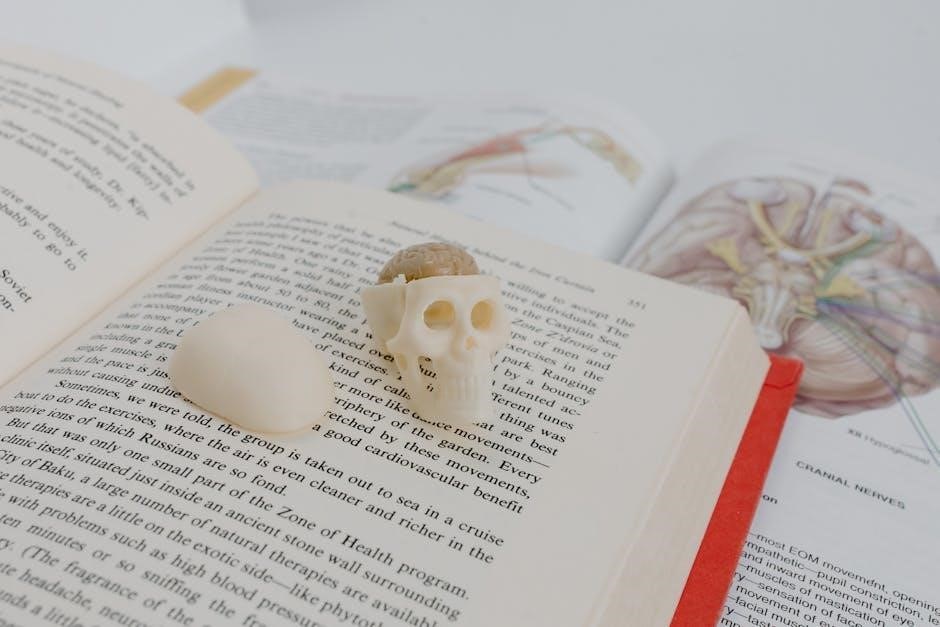
An anatomy home lab isn’t a sterile, clinical environment; it’s a personalized learning space designed to facilitate the study of the human body. Think of it as a dedicated corner – or even an entire room – equipped with anatomical models, charts, software, and other resources. Crucially, it’s a space you curate to best suit your learning style.
Unlike a formal laboratory, a home anatomy lab prioritizes accessibility and self-directed learning. It’s about creating an immersive environment where you can repeatedly examine structures, test your knowledge, and build a strong foundational understanding. A photographic guide documenting your lab’s evolution and resource organization is invaluable, serving as a visual study aid and a record of your learning journey. It’s a dynamic space, adapting as your knowledge grows.
Benefits of Creating a Home Anatomy Lab
Establishing a dedicated anatomy home lab offers significant advantages. It fosters independent learning, allowing study at your own pace and on your own schedule, unconstrained by classroom timings. Repeated exposure to anatomical structures solidifies understanding far beyond textbook memorization.
A well-organized lab, especially one documented with a photographic guide, promotes efficient study sessions. Resources are readily accessible, minimizing wasted time. Furthermore, the act of building and maintaining the lab itself reinforces learning – a hands-on approach to anatomical knowledge. The visual record of your lab’s development becomes a powerful study tool, showcasing progress and identifying areas needing further attention. It’s an investment in your anatomical education.
Essential Equipment for Your Anatomy Home Lab
Building your anatomy space? Prioritize models, charts, and digital tools—all visually cataloged in your photo guide—to dissect, explore, and truly understand the human body.
Skeletal System Resources
Documenting skeletal study is key! Begin with a full human skeleton model, photographed from multiple angles for reference. Capture detailed images of individual bones – skull, vertebrae, long bones – showcasing key landmarks.
Your photo guide should include close-ups of bone features: foramina, processes, and articulations. Consider acquiring segmented skeletal parts for focused study; photograph each piece individually and in relation to the whole.
Labeling is crucial! Use digital annotation tools on your photos to identify specific structures. A well-documented skeletal collection, visually organized, transforms learning from rote memorization to spatial understanding. Include images of bone markings and their functions.
Human Skeleton Model
A foundational piece for your lab! Invest in a life-size human skeleton model – articulated is preferable for demonstrating range of motion. Photograph the entire model in a well-lit space, capturing front, back, and side views.
Detailed photos are essential. Focus on major landmarks: cranial sutures, rib cage, pelvic girdle, and limb articulations. Use a consistent photographic style for easy comparison.
Create a ‘skeleton map’ – a series of annotated images highlighting bone names and key features. Document the model’s articulation points, showing how bones connect. This visual reference will be invaluable during study sessions, aiding in spatial comprehension and recall.
Individual Bones for Detailed Study
Complement the full skeleton with isolated bones! Acquire a collection of individual bones – skull, vertebrae, femur, humerus, etc. – for in-depth examination. Photograph each bone against a neutral background, showcasing all surfaces.
Capture close-up images of specific features: foramina, processes, condyles, and tuberosities. Annotate these photos with labels identifying each anatomical landmark. Create a ‘bone atlas’ – a photographic catalog of individual bones and their features.
Document variations between left and right bones, if applicable. This detailed photographic record will enhance your understanding of bone morphology and function, proving invaluable for quizzes and exams.
Muscular System Resources
Visualizing muscles is crucial! Supplement skeletal study with resources focusing on the muscular system. Begin with a detailed muscle chart, photographing it clearly for reference. Consider a partial or full muscle model, documenting its features with high-resolution images.
Focus on origin, insertion, action, and innervation for each muscle. Create photographic ‘muscle profiles’ – images of the muscle alongside its key characteristics. Utilize anatomy coloring books; photograph completed pages to reinforce muscle identification and location.
Document superficial and deep muscle layers separately, building a layered understanding of muscular anatomy. This visual approach, captured photographically, will greatly aid memorization and comprehension.
Muscle Models and Charts
Essential visual aids! Muscle models, ranging from partial torso representations to full-body figures, provide tactile learning. Photograph models from multiple angles, highlighting muscle origins, insertions, and actions. Detailed charts are equally vital; capture clear images of each muscle group, noting key landmarks.
Create a photographic ‘muscle atlas’ – a collection of model and chart images organized by body region. Annotate photos digitally, labeling muscles and their associated features. Consider models with removable muscle layers for deeper understanding, documenting each layer photographically.
Charts should include muscle innervation points. High-quality images are key for detailed study and later review, forming a robust visual reference.
Anatomy Coloring Books for Muscle Identification
Reinforce learning through active recall! Anatomy coloring books aren’t just for beginners; they’re powerful tools for muscle identification. Photograph completed pages, showcasing accurate coloration of each muscle. This creates a personalized, visual study guide.
Focus on coloring muscle origins, insertions, and actions differently for each muscle group. Document the process photographically, noting any challenges encountered. Use high-quality images to capture detail.
Combine coloring with model study – photograph the colored book page alongside the corresponding muscle on a model. This cross-referencing strengthens understanding. Create a digital ‘muscle coloring atlas’ for easy review and self-testing.
Nervous System Resources
Delve into the complexities of the nervous system! A home lab benefits greatly from dedicated resources. Begin by documenting your setup with photographs – a visual inventory. Acquire a detailed brain model, photographing it from multiple angles to understand its intricate structures.
Supplement this with a spinal cord model and comprehensive nerve charts. Capture images of nerve pathways, highlighting key areas. Utilize color-coding in your photos to differentiate cranial and peripheral nerves.
Create a photographic ‘nerve atlas’ by labeling diagrams and models. This visual approach aids memorization and spatial understanding. Regularly update your photo collection as your knowledge expands.
Brain Model
A high-quality brain model is foundational! Begin documenting with detailed photographs – overall views, lateral perspectives, and cross-sections. Capture images highlighting lobes, fissures, and gyri. Use consistent lighting for clear, repeatable visuals.
Label key structures directly on your photos using digital annotation tools. Create a photographic ‘brain map’ for quick reference. Disassemble the model (if possible) and photograph individual parts, noting their relationships.
Consider a model with removable sections to reveal internal structures. Photograph these layers systematically. Regularly update your photo collection as you deepen your understanding of neuroanatomy.
Spinal Cord Model & Nerve Charts
Complement the brain model with a detailed spinal cord representation! Photograph the model’s exterior, clearly showing the dorsal and ventral roots, and the grey and white matter. Capture cross-sectional views, labeling key anatomical features.
Alongside the model, photograph comprehensive nerve charts. Highlight dermatomes and myotomes, creating visual guides for neurological pathways. Annotate charts with color-coding to differentiate sensory and motor nerves.
Document the relationship between the spinal cord model and nerve charts. Create composite images showing nerve origins and target areas. Regularly review and update your photographic documentation as your knowledge expands.
Software and Digital Resources
Digital tools revolutionize anatomy study! Capture screenshots of anatomy atlas software, 3D apps, and virtual dissection platforms—a visual record of your digital exploration.
Anatomy Atlas Software
Documenting your digital anatomy atlas experience is crucial. Capture screenshots showcasing key features – muscle layers, bone structures, and nerve pathways – within the software. Create a photo series illustrating how you utilize the atlas for specific dissections or study sessions.
Include images of labeled diagrams generated by the software, highlighting your annotation process. Photograph the software interface during interactive quizzes or self-assessment modules. This visual documentation serves as a personalized study guide, reinforcing your understanding and providing a reference point for future review.
Consider creating short video recordings of software walkthroughs, narrating your exploration of complex anatomical regions. These visual aids will be invaluable for revisiting challenging concepts and solidifying your knowledge base.
3D Anatomy Apps
Visually chronicle your interaction with 3D anatomy applications. Capture photos of the app displaying various anatomical structures from multiple angles – rotate, zoom, and dissect virtually, documenting each step. Create a photo essay showcasing how you use the app to identify specific muscles, bones, or nerves in a layered format.
Photograph the app’s interface during interactive features like quizzes or augmented reality modes. Include screenshots of customized views you create, highlighting areas of particular interest. This visual record demonstrates your active engagement with the app and reinforces spatial understanding.
Record short screen captures demonstrating app functionality, narrating your exploration of complex anatomical regions. These visual aids will be invaluable for revisiting challenging concepts.
Virtual Dissection Tools
Document your virtual dissection process meticulously with photographs. Capture screenshots at each stage of the dissection, highlighting specific anatomical structures as they are revealed. Focus on layering techniques, showcasing how different tissues and organs relate spatially. Create a photo series illustrating the dissection of a specific region, like the abdominal cavity or the arm.
Photograph the tool’s interface during labeling exercises, demonstrating your ability to identify key anatomical landmarks. Include images of cross-sections and 3D reconstructions generated by the software.
Record short video clips of the virtual dissection in progress, narrating your observations and explaining the anatomical relationships you are uncovering. This visual diary will enhance your learning and retention.
Setting Up Your Study Space
Photograph your lab’s evolution! Document the arrangement, lighting, and organization of your dedicated anatomy study area for optimal learning and efficiency.
Dedicated Lab Area
Establishing a focused anatomy study zone is paramount. Begin by selecting a space – even a corner of a room – solely for anatomical exploration. Photograph this initial setup! Prioritize a durable, easily cleanable surface to accommodate models and potential dissection materials.
Consider workflow: arrange frequently used resources within easy reach. Capture images of different layout options before settling on the most efficient arrangement. Good organization, visually documented, minimizes distractions and maximizes study time.
A dedicated area signals to your brain it’s “anatomy time,” fostering concentration. Regularly photograph the space to track improvements and maintain a productive learning environment. This photographic record will also help you recreate the optimal setup if you need to temporarily relocate your lab.
Proper Lighting and Ventilation
Optimal illumination is crucial for detailed anatomical study. Photograph your lab area with different lighting conditions to assess visibility. Natural light is ideal, supplemented by adjustable task lighting – a desk lamp is essential. Avoid harsh shadows that obscure fine details on models. Capture images demonstrating effective lighting setups.
Ventilation is equally important, especially if using any materials with odors. Ensure adequate airflow to maintain a comfortable and focused study environment. Document the ventilation setup in your photos.
Poor lighting strains eyes and hinders accurate observation. Insufficient ventilation can lead to discomfort and reduced concentration. A well-lit and ventilated space, visually recorded, promotes effective and enjoyable anatomical learning.

Advanced Resources for Dedicated Students
For immersive study, consider dissection kits and microscopes—documenting their use photographically. Histology slides reveal cellular structures, enhancing understanding and visual learning.
Dissection Kits (Ethical Considerations)
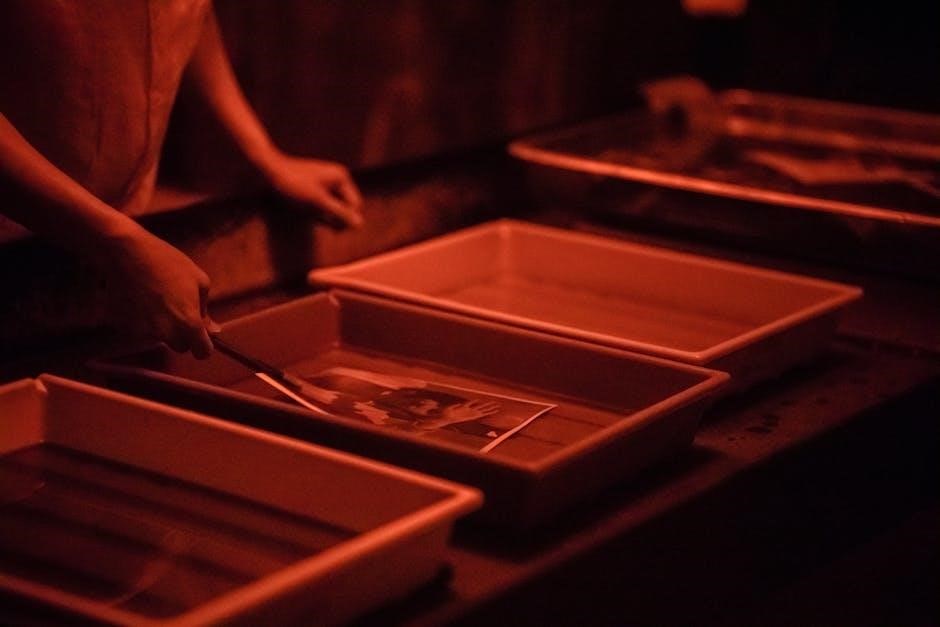
Venturing into dissection requires careful thought. Acquiring specimens ethically is paramount; sourced from reputable biological supply companies ensuring humane origins is crucial; Documenting the entire process photographically—from initial setup to detailed observations—provides a valuable learning record and demonstrates respect for the material.
Always prioritize safety: wear appropriate personal protective equipment (gloves, eyewear, lab coats) and follow strict hygiene protocols. Proper disposal of biological waste is non-negotiable, adhering to local regulations. Consider alternatives like virtual dissection tools if ethical concerns are significant. A photographic log, detailing each step, reinforces responsible scientific practice and deepens anatomical comprehension.
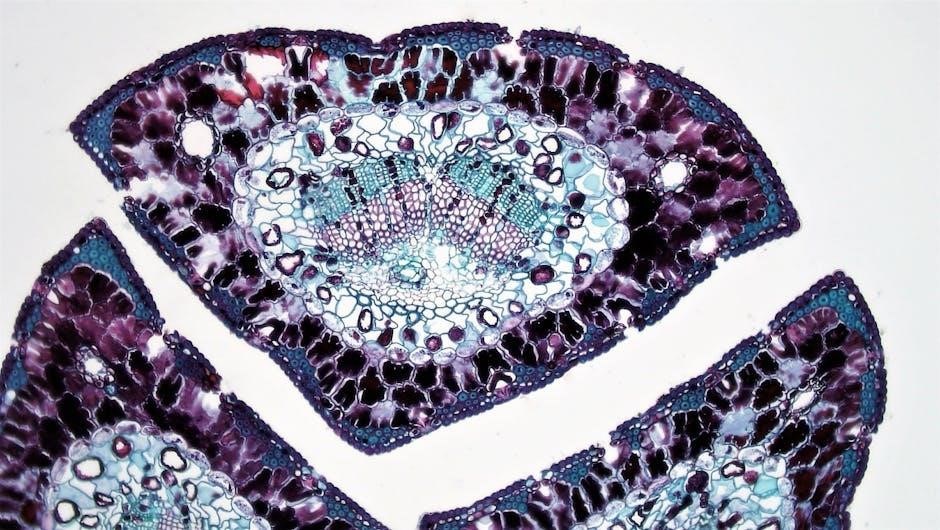
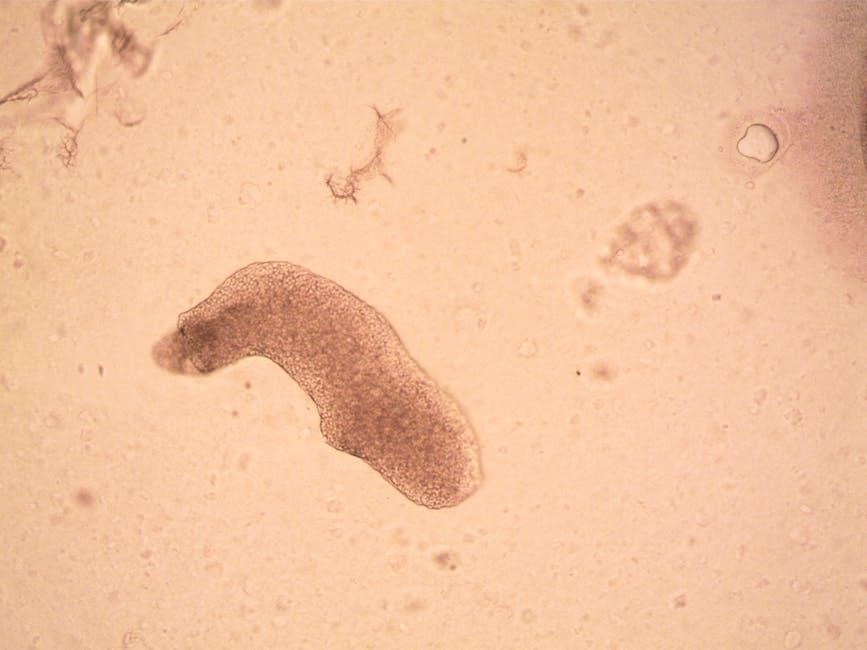
Microscopes and Histology Slides
Delving into microscopic anatomy unlocks a new dimension of understanding. A quality microscope, even a student-grade model, is invaluable. Begin with prepared histology slides – readily available depicting various tissues (muscle, nerve, epithelial). Documenting observations photographically, using a smartphone adapter, is essential for detailed study and sharing.
Learning proper slide preparation techniques (if pursuing advanced study) expands capabilities. Focus on identifying key cellular structures and relating them to macroscopic anatomy. A photographic atlas of histology, alongside your own images, builds a robust visual library. Remember proper microscope maintenance—cleaning lenses and ensuring correct illumination—for optimal viewing and lasting performance.
Maintaining and Expanding Your Home Lab
Consistent upkeep and strategic additions are key. Regularly organize resources, photographically document your lab’s evolution, and budget for future upgrades—a growing visual library!
Regular Cleaning and Organization
Maintaining a pristine anatomy lab is crucial for effective study. Dust accumulation on models obscures details, hindering accurate observation. Implement a routine cleaning schedule – weekly for frequently used items, monthly for larger models and charts.
Photograph your lab before and after cleaning sessions to visually track progress and motivate continued organization. Categorize resources logically: skeletal, muscular, nervous systems, and digital tools. Utilize labeled containers, shelves, or drawers.
A well-organized space minimizes wasted time searching for materials and fosters a focused learning environment. Regularly declutter, removing unused or broken items. Document the organization with photos for easy replication after disruptions. A clean, ordered lab is a productive lab!
Budgeting for Future Purchases
Expanding your anatomy home lab doesn’t require immediate, large investments. Prioritize needs versus wants, creating a realistic budget. Start with essential, affordable resources – a basic skeleton model and anatomy coloring books are excellent starting points.
Document your current lab inventory with photos and a list of desired additions. Research prices from various online retailers and consider university surplus sales for discounted items. Allocate funds monthly or quarterly, focusing on one system at a time.
Explore free digital resources like anatomy apps and virtual dissection tools to supplement physical models. Remember, a well-planned budget allows for gradual, sustainable growth of your anatomy study space.

Safety Precautions in Your Home Anatomy Lab
Prioritize safety! Handle models carefully, ensuring stability. Proper storage prevents damage. Dispose of any materials responsibly, maintaining a clean, organized learning environment.
Handling Models and Specimens
Delicate Care is Crucial: When working with anatomical models, remember they represent complex structures and can be fragile. Always support the model during movement, avoiding sudden impacts or drops. Regularly inspect for loose parts, and address them promptly to prevent further damage.
Material Awareness: Different models are constructed from various materials – plastics, resins, or even metal supports. Understand the properties of each material to apply appropriate cleaning and handling techniques. Avoid harsh chemicals or abrasive cleaners that could degrade the model’s surface.
Specimen Considerations (If Applicable): If your lab includes preserved specimens (following ethical guidelines, of course!), handle them with utmost respect and caution. Wear gloves, and follow proper disinfection protocols after handling. Ensure adequate ventilation during any procedures involving specimens.
Proper Disposal of Materials
Responsible Waste Management: Maintaining a safe and organized anatomy lab includes proper disposal of materials. Broken model pieces, packaging, and disposable gloves should be discarded responsibly, following local regulations. Avoid simply throwing items into general waste bins.
Biohazard Protocols (If Applicable): If your lab utilizes any biological materials – even simulated ones – adhere to strict biohazard disposal protocols. This may involve designated containers, autoclaving, or professional biohazard waste removal services. Always prioritize safety and environmental protection.
Recycling Opportunities: Whenever possible, recycle packaging materials like cardboard and plastics. Check local recycling guidelines for accepted items. Proper disposal demonstrates respect for the environment and contributes to a sustainable learning environment.

Resources for Sourcing Anatomy Materials
Finding Supplies: Explore online retailers, university surplus sales, and educational supply companies for affordable anatomy models, charts, and dissection tools—a visual guide awaits!
Online Retailers
Numerous online retailers cater specifically to the needs of anatomy students and hobbyists building home labs. Amazon offers a vast selection, ranging from basic skeleton models to detailed muscle charts, often with competitive pricing and customer reviews. Scientific supply companies like Carolina Biological Supply and Ward’s Science provide higher-quality, more specialized anatomical models and dissection materials, though typically at a higher cost.
eBay can be a treasure trove for finding used or discounted anatomy resources, requiring careful evaluation of the seller and product condition. Consider specialized anatomy retailers like Anatomy 360, which focuses on detailed anatomical charts and learning materials. Always compare prices, shipping costs, and return policies before making a purchase, and prioritize retailers with secure payment options and reliable customer service.
University Surplus Sales
A fantastic, often overlooked resource for acquiring affordable anatomy materials are university surplus sales. Many universities periodically sell off outdated or unused lab equipment, including anatomical models, skeletons, charts, and even preserved specimens. These sales can offer significant savings compared to retail prices, but require diligence and a bit of luck.
Check the websites of local universities and colleges, particularly their science and medical departments, for announcements of surplus sales. Auctions are common, as are open-to-the-public sales events. Be prepared to act quickly, as desirable items can disappear fast. Inspect items carefully before purchasing, noting any damage or missing parts. Patience and persistence are key to uncovering hidden anatomical gems at university surplus sales!